My 9-step Korean head spa experience—and how to recreate it at home!
If you’ve been following me for a while, you may know about the love-hate relationship I have with my hair. It’s basically this: I love my hair, and my hair hates me.
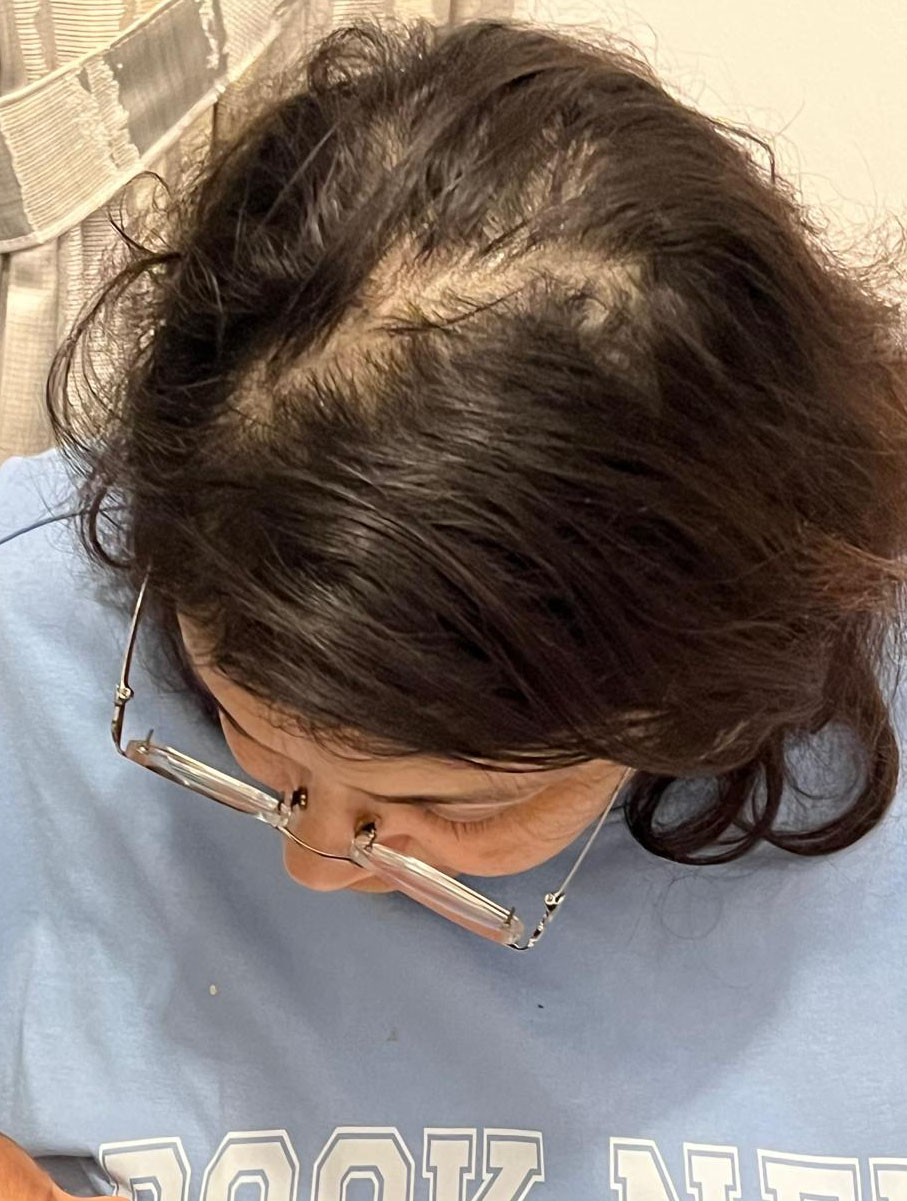
Why does my hair hate me? Let’s start with genetics. I was born into a family where early female pattern baldness is practically our signature trait. Almost all the women on my father’s side have experienced significant premature hair loss.
Add to this chemotherapy and radiation, and my poor strands never really had a chance. So, this year, I’ve started a quest to reverse fate and bring some sanity back to my scalp.
Yes, we can always do extensions, but the thought of having someone else’s hair on my head somehow feels like bhhluuurgggg (apologies—you can see how this topic affects me!).
So, we are dedicating this year to everything haircare. If you’re also dealing with thinning, dull, lackluster hair, join me on this journey, and let’s change things forever.
Let’s start with the Korean head spa.
I’ve always been intrigued by the legendary Korean beauty treatments, but until recently, I’d only dipped my toes into the world of K-beauty through skincare. Could my hair really need ten steps? As I discovered, the answer is a resounding yes!
Step 1: The Consultation
I’ve had consultations at other hair salons, but this one truly stood out for its thoroughness. My stylist spent almost 20 minutes to ensure she fully understood my hair concerns and lifestyle—all done in private head spa rooms with cushy ergonomic recliners, usually a hallmark of Korean hair spas.
We started by chatting about my hair’s journey, covering everything from the color treatments I’ve done to my daily hair care routine—like the products I use, how often I heat style, and if I’ve been dealing with any specific issues like dryness, breakage, or an itchy scalp.
Then came the visual examination of my hair’s condition, where she inspected my scalp and strands under a special magnifying device. Seeing my scalp and hair up close was fascinating—and, honestly, a little nerve-wracking. But this step was crucial in determining exactly what my hair needed.
Finally, we dove into my hair goals. Did I want more volume? Extra shine? Help with taming frizz? I shared that while I’m all for healthy, shiny hair, I didn’t have the time or patience to spend hours on it every day.
Cue: I needed something that would keep my hair looking fabulous with minimal effort.
By the end of our consultation, we had a personalized plan in place—a mix of hydration, nourishment, and scalp care designed to bring my hair back to life!
Want to try this at home? Start by objectively assessing your hair. Consider your hair type (dry, oily, balanced), its current condition (damaged, frizzy, color-treated), and your goals (hydration, volume, smoothness). This will help you choose the right products for each step.
Step 2: Scalp Detox
According to several scientific studies, a healthy scalp equals healthy hair, so all Korean head spa scalp treatments start with gentle exfoliation.
Clearing away all the buildup of sebum (natural oils), dead skin cells, excessively oily scalps, and product residue (I couldn’t believe how much can accumulate!) gives hair follicles room to breathe and encourages healthier hair growth. Plus, it primes your scalp to soak up nourishing treatments much more effectively.
After the detox, my scalp felt unbelievably refreshed—like it had just come back from a mini-vacation. It was satisfying to imagine all that gunk being swept away, leaving my scalp clean, balanced, and ready for the next stop in the 9-step Korean head spa journey.
Want to try this at home? Looking for similar deep exfoliation at home? Consistent use of a scalp scrub like the Living Proof Scalp Care Exfoliator or Fable & Mane SahaScalp Wild Ginger Purifying Scrub will bust a flakey scalp, keeping your hair happy and healthy.
Step 3: Scalp Massage with Essential Oils
After the detox, my scalp was ready for a treat—a soothing blend of essential oils that addressed my main concerns (dryness, itchiness, and thinning hair)—with lavender for its calming effect, tea tree oil for its relaxing and antibacterial benefits, and rosemary to boost circulation and promote healthy hair growth.
The moment the warm oil touched my scalp, I knew I was in for something special. The stylist carefully applied the blend, section by section, ensuring every part got the attention it needed. The warmth and comforting aroma felt like a cozy hug for my scalp.
Then came the real magic—the massage. She worked the oils into my scalp with rhythmic, soothing motions, applying just the right amount of pressure—not too firm, not too soft. Her mix of circular movements, kneading, and tapping techniques increased blood flow, eased tension, and helped the oils penetrate deeply.
As the head massage continued, I felt all the tension melting away—not just from my scalp but my whole body. The lavender eased my mind, while the tea tree and rosemary left my scalp feeling refreshed and revitalized.
But this wasn’t just about relaxation—it also did wonders for my hair health. Science has proven that the increased blood circulation brings more nutrients to hair follicles, promoting stronger, healthier, thicker strands.
By the time the massage ended, I felt like I was floating. My scalp tingled with a pleasant sensation, and the lingering scent of essential oils kept me feeling calm and serene. My hair felt soft and hydrated, perfectly prepped for the treatments that followed.
Want to try this at home? Massage a few drops of essential oils like lavender, rosemary, or tea tree into your scalp using circular motions. Take your time, relax, and savor the experience—aim for at least 5-10 minutes of pure bliss.
To glow it up even further, you can use a hair massager.
I love the Breo S3 Scalp Massaging Brush, which not only offers the perfect massage but also delves into red light therapy, which is phenomenal for hair growth. Another bonus? It has a “serum cabin,” a small well into which you can pour your oils or serums to supercharge the massage.
Step 4: Clarifying Shampoo
Next on the Korean head spa menu is a clarifying shampoo, which provides a deep cleanse and resets hair by removing product buildup, excess oil, and environmental pollutants.
After a thorough rinse with lukewarm water—perfect for opening up the hair cuticles without causing damage—my hair felt much lighter and refreshed, almost as if an invisible layer of grime had been washed away.
It left my hair incredibly clean and revitalized, perfectly prepped to soak up the goodness of the treatments that followed.
Want to try this at home? Use a clarifying shampoo every couple of weeks to remove product buildup and environmental pollutants. Pro favorites? The Living Proof Clarifying Detox Shampoo, OUAI Detox Shampoo, and the Shu Uemura Pure Serenity Clarifying Shampoo.
Step 5: Hydrating Shampoo
After the deep cleanse, the next step of the head spa session was to ensure that my hair didn’t feel dry or brittle. Hence, the hydrating shampoo, which felt like a refreshing drink for my hair.
As the water flowed through my hair, I could already feel the difference—there were none of the tight, dry feelings that can sometimes come after washing.
This step really drove home the importance of choosing the right products for your hair. It’s a good reminder that not all shampoos are the same—choosing the right one can significantly impact how your hair looks and feels.
The stylist picked a hydrating shampoo for me, which was perfect for tackling a dry scalp and maintaining moisture balance. For someone else, it might be a color-reviving shampoo or a volumizing one for thin strands.
Want to try this at home? Pick a shampoo that suits your hair type. Massage it into your scalp and hair, paying extra attention to the ends. Rinse with lukewarm water to keep those cuticles smooth and lock in moisture.
Step 6: Deep Conditioning and Steam
In this crucial step of the Korean head spa, my hair was prepped to soak up serious moisture and get the ultimate nourishing treatment. Since my hair had been feeling dry and a bit brittle, we opted for a rich, creamy mask loaded with natural oils, proteins, and vitamins to repair and rejuvenate.
She carefully applied the hair mask from roots to tips, using a wide-toothed jade comb to ensure even coverage, focusing on the areas that needed extra love. Then my hair was pooped under one of those domed hoops that literally steam it to perfection!
Want to try this at home? After shampooing, apply a deep conditioning mask to your hair, focusing on the mid-lengths and ends. For the steam therapy effect, wrap hair in a hot towel to enhance the mask’s effectiveness. Leave it on for at least 20 minutes before rinsing with cool water.
Step 7: Rinse with Cool Water
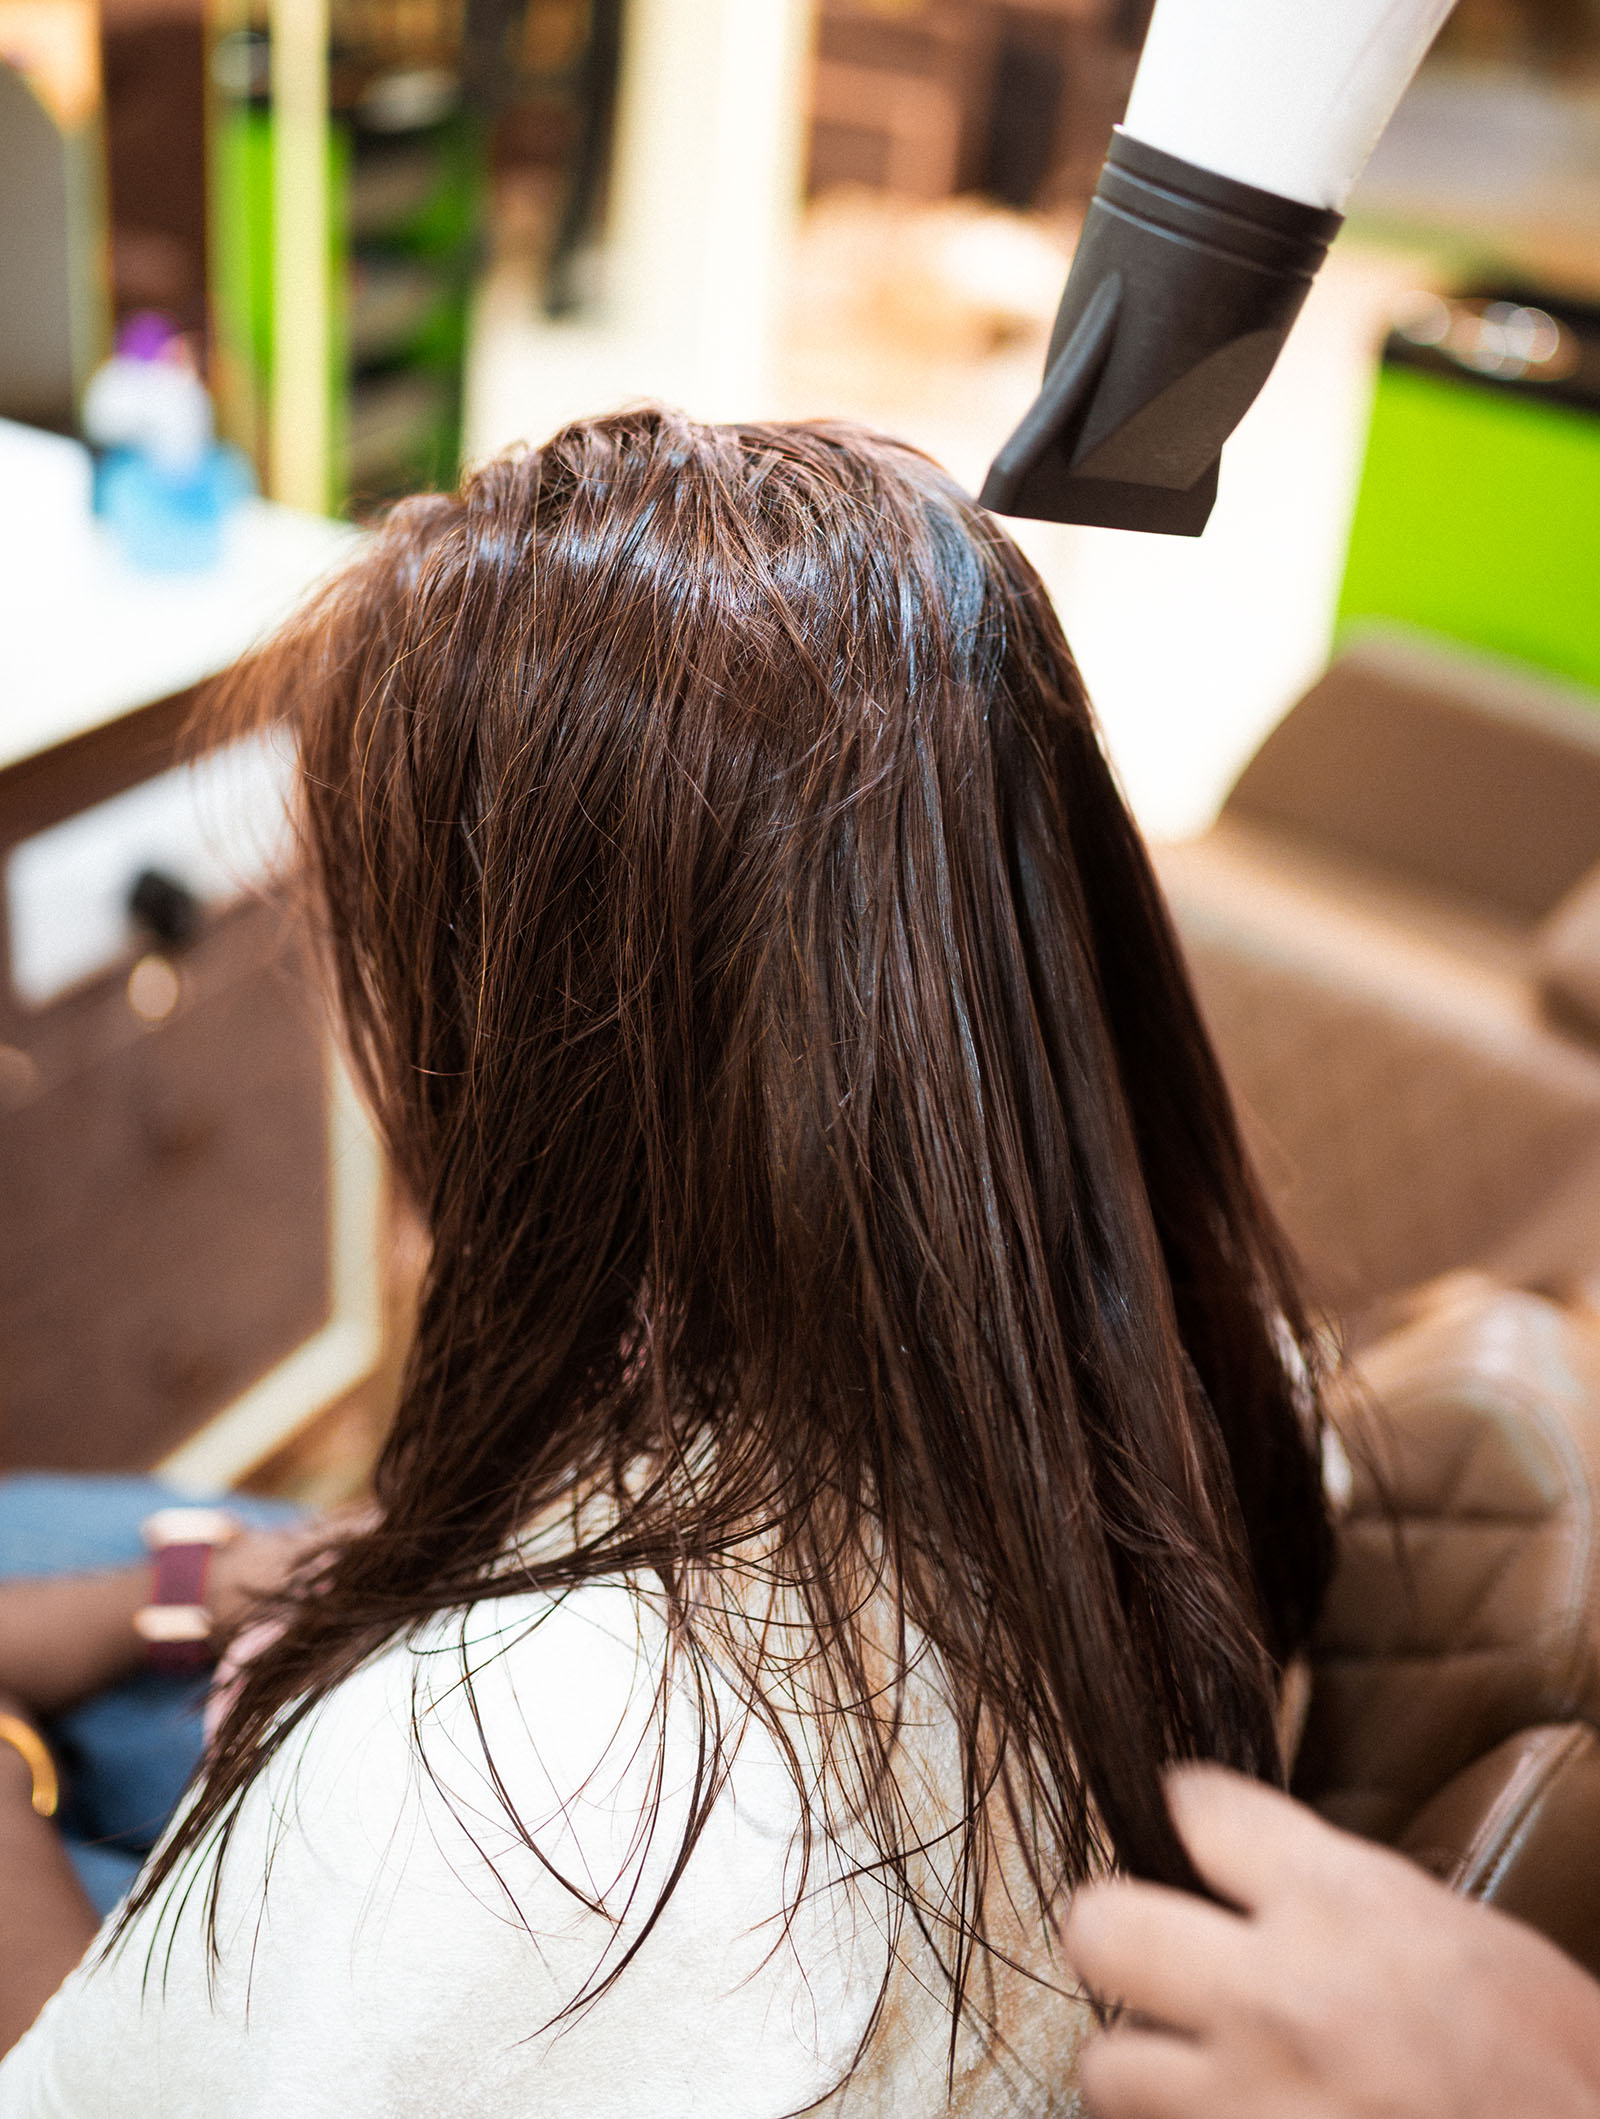
After the luxurious steam treatment, it was time for an essential but often overlooked step: the cool water rinse, which works wonders for hair and scalp health.
Instead of warm water, my stylist used cool water to wash out the deep conditioning mask, explaining that the cool rinse seals the hair cuticles, which were opened up during the steam treatment, locking in all the moisture and nutrients from the mask.
Result? Glossy, smooth, healthy hair with noticeably less frizz and flyaways.
As the rinse continued, I noticed how smooth and manageable my hair felt. The cool water sealed the cuticles, making my hair silky and easy to comb through, even while wet—none of the tangles or knots I usually get with a warm rinse.
The cool water was gentle on my scalp, providing a soothing, refreshing finish that left it feeling balanced and calm, with no irritation or tightness.
Want to try this at home? After conditioning or applying a mask, rinse your hair with cool or cold water. This helps to close the cuticles, locking in moisture and leaving your hair shiny and smooth.
Step 8: Leave-In Treatment
After the refreshing cool water rinse, the stylist gently towel-dried my hair, leaving it damp but not dripping—just right for the leave-in treatment.
This step is vital for locking in moisture, adding nourishment, and protecting hair from heat, humidity, and pollution—and it wasn’t just about making my hair look good now but also about keeping it healthy in the long run.
Knowing my hair tends to be on the dry side with some frizz, the stylist picked a lightweight, nutrient-rich formula that offered deep hydration, frizz control, and a bit of heat protection since I often use heat tools.
She focused on the mid-lengths and ends, where my hair needed the most care, making sure every strand was coated evenly.
As the treatment was absorbed, I noticed how it brought out my hair’s natural glossiness. It wasn’t that artificial, greasy shine but a healthy radiance that made my hair look vibrant and full of life. My hair also felt silkier and less prone to tangling, even while damp.
By the time she finished, my hair felt utterly transformed. It was soft, smooth, and incredibly shiny, with a bounce and lightness I hadn’t felt in ages. The leave-in treatment locked in all the goodness from the previous steps, ensuring my hair would stay nourished and protected long after I left the spa.
Want to try this at home? After towel-drying your hair, apply a leave-in conditioner or treatment. Focus on the ends and any areas prone to dryness or frizz. Comb through to distribute the product evenly, and let your hair air dry or proceed with gentle heat styling.
Step 9: Blow-Dry and Style
The final step in the Korean head spa was a blow-dry but with a twist—no high heat! My stylist opted for a cooler temperature and explained that after all the conditioning and moisturizing, we didn’t want to undo any benefits with unnecessary heat.
The cool air was a revelation—it dried my hair gently, leaving it smooth and soft instead of parched or crispy. The shine built up through the treatment was now fully visible, reflecting light with a healthy glow. Thanks to the careful attention it received, my hair had a bounce and softness I hadn’t seen in ages.
The end result was stunning. While I will need a few more sessions for the full impact, I felt a surge of confidence. My hair was shiny, smooth, and perfectly styled, yet it still looked like me—just a more polished, radiant version.
It was the perfect end to a truly transformative experience, leaving me with beautiful hair and a renewed sense of self-care and confidence.
At-Home Recreation: Dry your hair using a blow-dryer on the lowest heat setting or a cool setting if available. Use a round brush to create volume and smoothness. Finish with a lightweight serum or shine spray to add gloss and tame any flyaways.

Korean head spa treatments: A wellness experience!
After this nine-step Korean hair spa routine, I expected my hair to feel amazing—and it did! But what surprised me the most was how healthy and rejuvenated my scalp felt, too.
The entire experience was a perfect blend of relaxation and effective hair care. I walked out of the spa with hair that was shiny, hydrated, and full of life. And honestly, it’s never looked better.
The multi-step approach really made a difference
A Korean head spa works so brilliantly because each step builds upon the previous one to deliver comprehensive care. For example, the scalp detox cleared away impurities and set the stage for optimal absorption of nutrients from the deep conditioning mask!
The results speak for themselves
My hair felt transformed—silky, shiny, and full of life. It had a bounce and lightness that I hadn’t experienced in a long time, and the frizz and dryness that usually plagued me were nowhere to be found.
The shine was something else entirely. My hair reflected light with a vibrant, healthy glow that turned heads. But beyond the visual appeal, my hair felt stronger and more resilient, like it had been fortified from within.
One of my biggest takeaways from the Korean head spa? Scalp care
Before this experience, I hadn’t given much thought to my scalp, focusing instead on my hair’s appearance. However, the scalp detox and essential oil massage showed me just how crucial a healthy scalp is for overall hair health. It was like a wake-up call for my hair routine, reminding me that proper hair care starts at the roots.
The personalized approach was another highlight
The consultation at the beginning of the treatment ensured that every step was customized to address my specific hair type and concerns. There is no one-size-fits-all approach here, with custom head spa programs tabulated for every client.
This wasn’t a one-size-fits-all experience—it was thoughtfully tailored to give my hair exactly what it needed. I appreciated how the stylist explained each step along the way, educating me about the products and techniques used so I could carry some of that knowledge into my home hair care routine.
Lasting results
The most surprising aspect of the treatment was how low-maintenance it left my hair. In the days that followed, my hair didn’t require much fussing over—it looked great with minimal effort, which is precisely what I want in my daily routine.
So, would I recommend this 10-step Korean hair spa treatment?
Absolutely. It’s not just about the immediate results, though those are undeniably impressive. It’s about the entire experience—the care, the relaxation, the personalized attention—that makes it feel like more than just a hair treatment. It’s a form of self-care that leaves you feeling refreshed, rejuvenated, and confident.
If you want to give your hair the ultimate pampering session, take the plunge—your hair will thank you! And if you do try the Korean head spa, let me know how it goes. I’d love to hear about your experience!
The post My 9-step Korean head spa experience—and how to recreate it at home! appeared first on The Beauty Gypsy.
